When I first started cooking, I didn’t do much baking. But my mom has this fantastic, from scratch, carrot cake recipe and I wanted to make it for a special occasion. Little did I know how much work it was for one person (my mom used to recruit my sister and I) and I can’t even tell you how many times I dropped the F-bomb during the process . Hence the name. But I’ve made it so many times at this point that you will rarely hear the F-word come out of my mouth anymore. The key to undertaking this creation on your own is to definitely be organized before you start. It is a lengthly process from beginning to end but well worth the effort!!! Mouthwatering deliciousness! Many people have told me this is the best carrot cake they’ve had. Ever. Why thank you :-).
Ingredients:
1 3/4 cup sugar
1 1/4 cup oil
4 Eggs
2 cups flour
2 tsp baking powder
2 tsp baking soda
1 tsp salt
2 tsp cinnamon
10 medium/large carrots, finely shredded
1 cup chopped walnuts (optional)
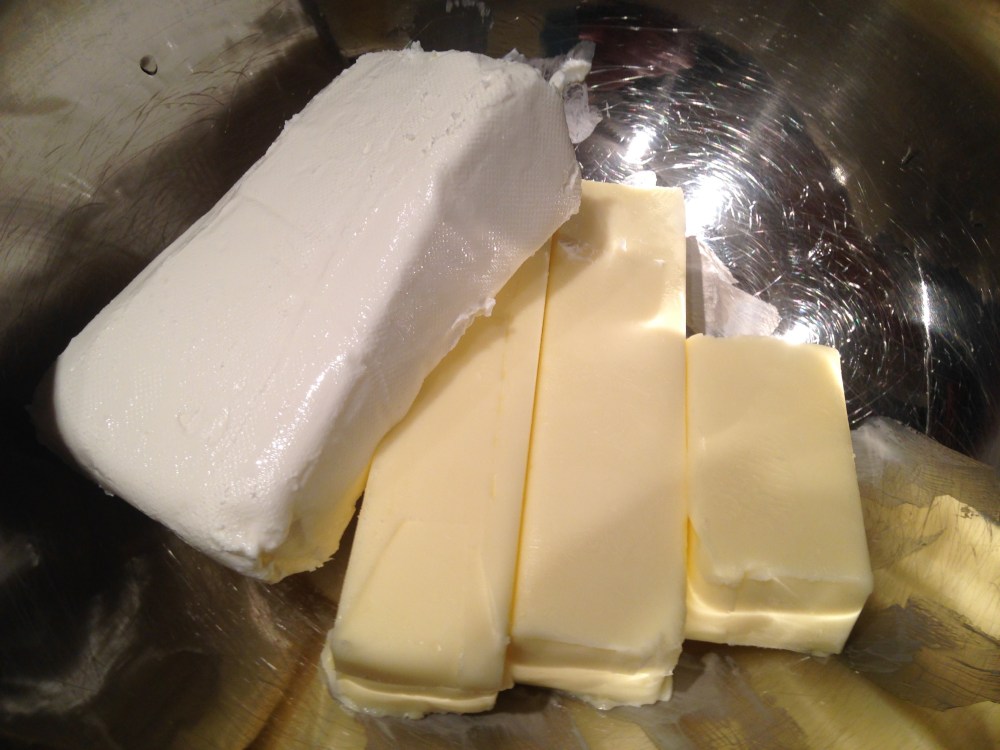
1 80z package cream cheese
1 1/4 cup butter (2 1/2 sticks)
2 tsp vanilla
1 1lb box 10x confectionary sugar
Instructions:
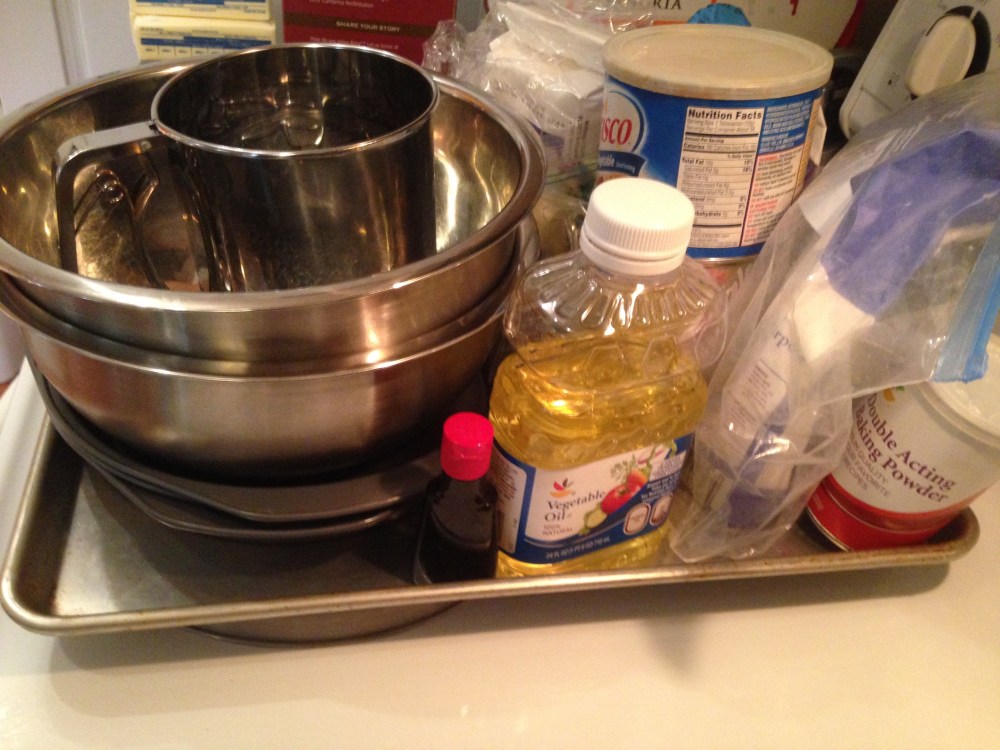
Step 1 – be organized!!! Assemble all your ingredients, measuring cups/bowls, pans, sifter, food processor etc. in one place. This is a lengthly process so you don’t want to spend more time rummaging through your cabinets looking for the next thing you need.
Peel your carrots and give them a good rinse. Pat dry with a paper towel. Cut up into smaller pieces so you can easily feed them into your food processor.
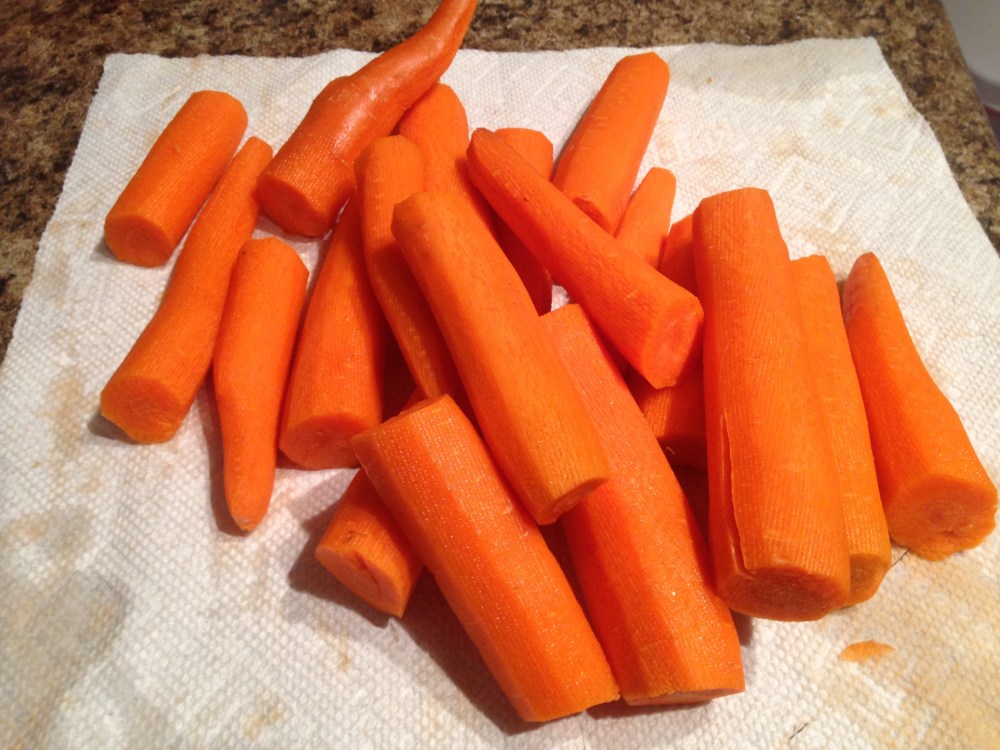
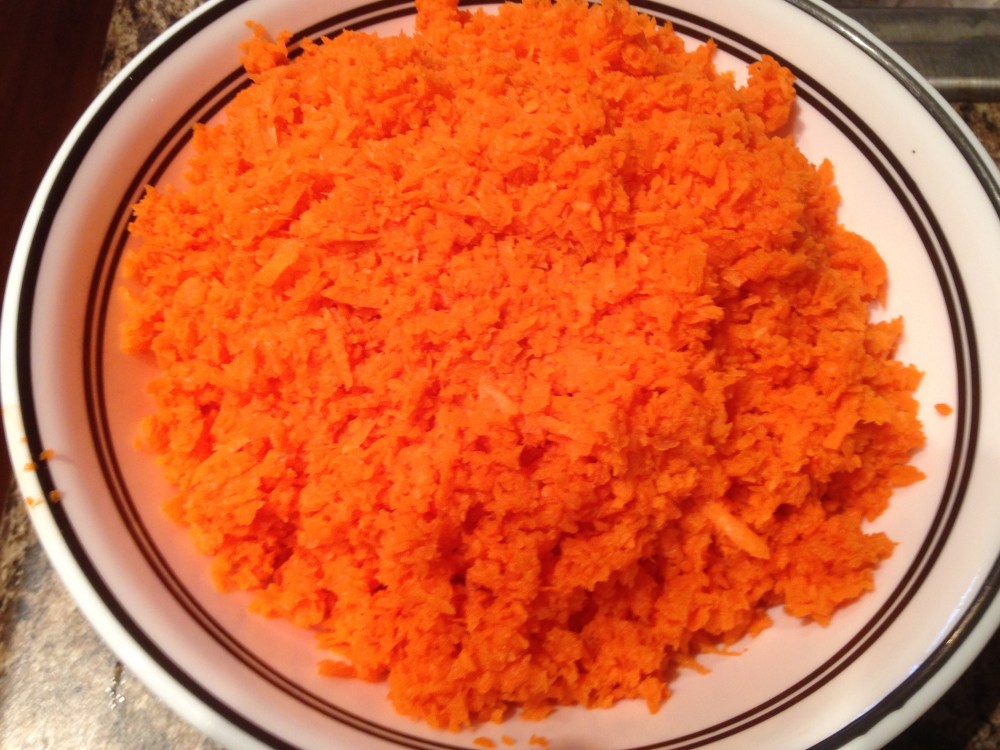
Run all your carrots through the shredder of your food processor and remove to a separate bowl. You can always hand grate the carrots but only if you want arthritis / carpal tunnel. Trust me, food processor is the way to go.
Next, put all your dry ingredients (minus the sugar) in a sifter. I found this great hand held one years ago, wouldn’t leave home without it.
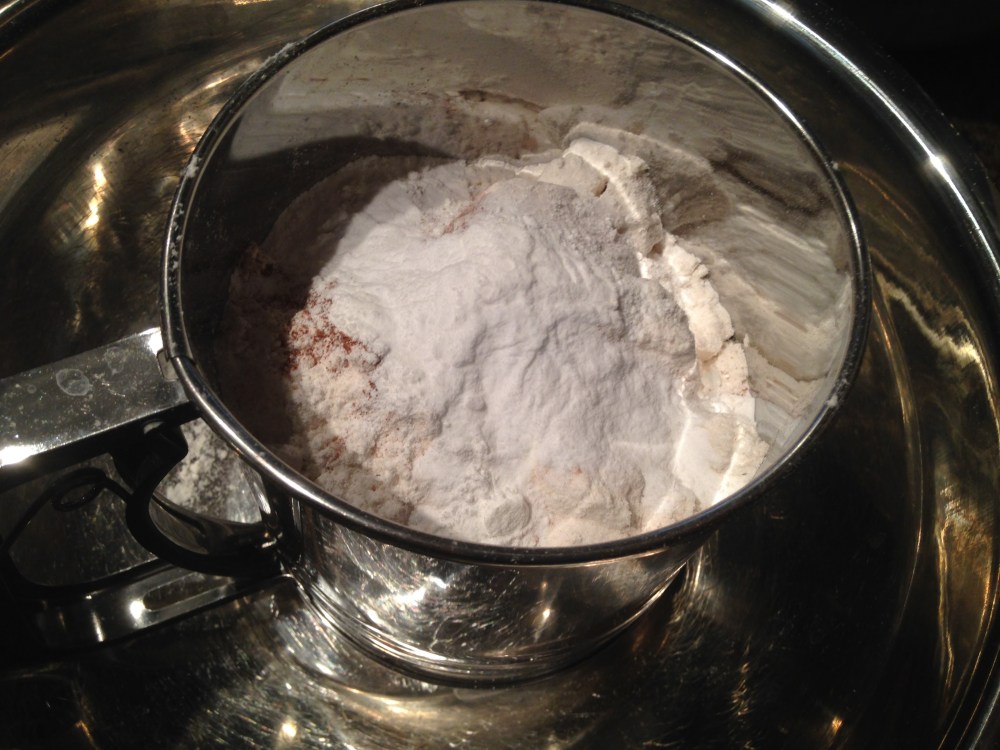
Sift all ingredients through into a large bowl. I sometimes like to do it twice so everything is nice and combined and all the flour is broken up (plus, I’m a little OCD).

In a separate bowl, cream the sugar and oil with a hand mixer (wish I had one of those Kitchenaid stand mixers!!!) Cream eggs in one at a time.

Slowly add the flour mixture to your oil/sugar/egg mixture. It will seem pretty viscous by the time you incorporate all the flour mixture but never fear, adding the carrots will loosen it up a bit.
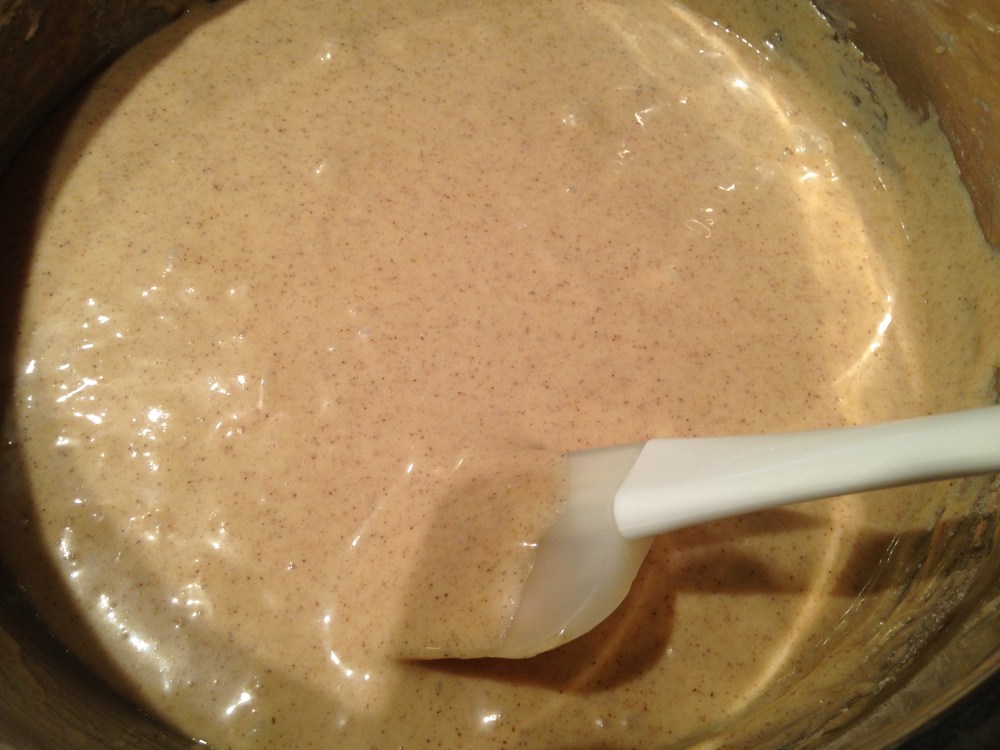
Gently fold in your shredded carrots and chopped walnuts.

Now that the cake batter is complete, time to ready the pans. Now would also be a good time to set your oven to 350 degrees. Three layer cakes are super sexy so I will usually prep three cake pans. Sometimes I’ll do a two layer cake and make cupcakes with the rest of the batter but like I said, three layer cakes are sexy.
Use vegetable shortening to grease your pans all the way up to the rim (coconut oil is another option). Don’t be shy with the shortening! Worse thing ever after all your hard work is having the cake stick to the pan and falling apart when you try to remove it! F-bombs will be flying, trust me (I know this one from experience)! Once you’ve greased your pans up, coat with a light layer of flour.
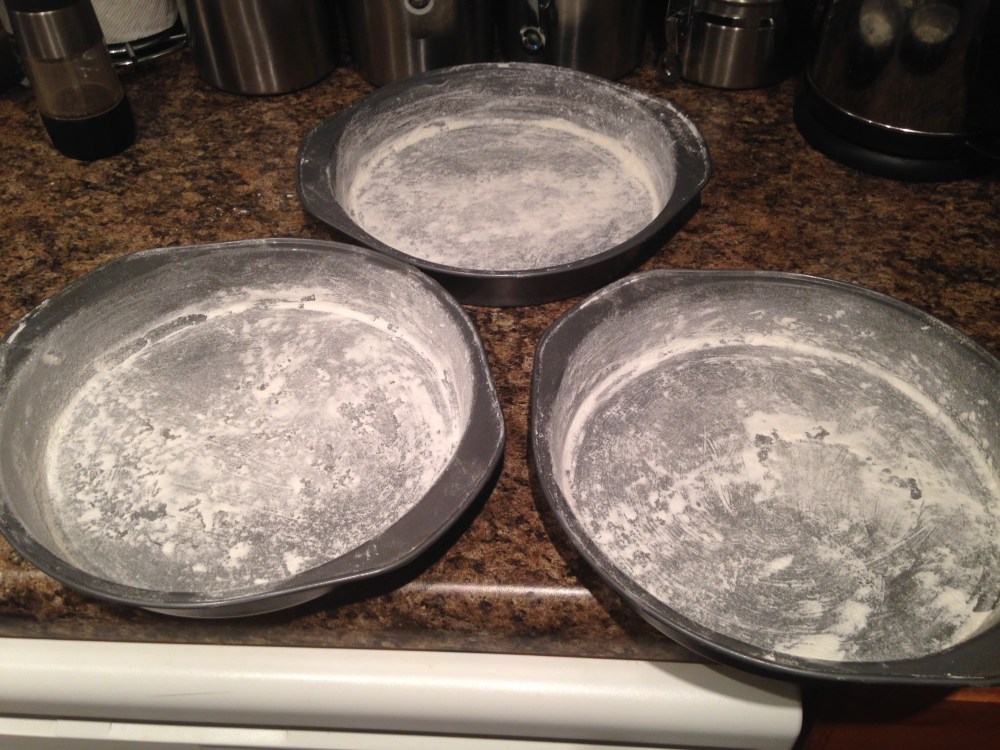
Evenly divide your cake batter into the three pans and set in oven.
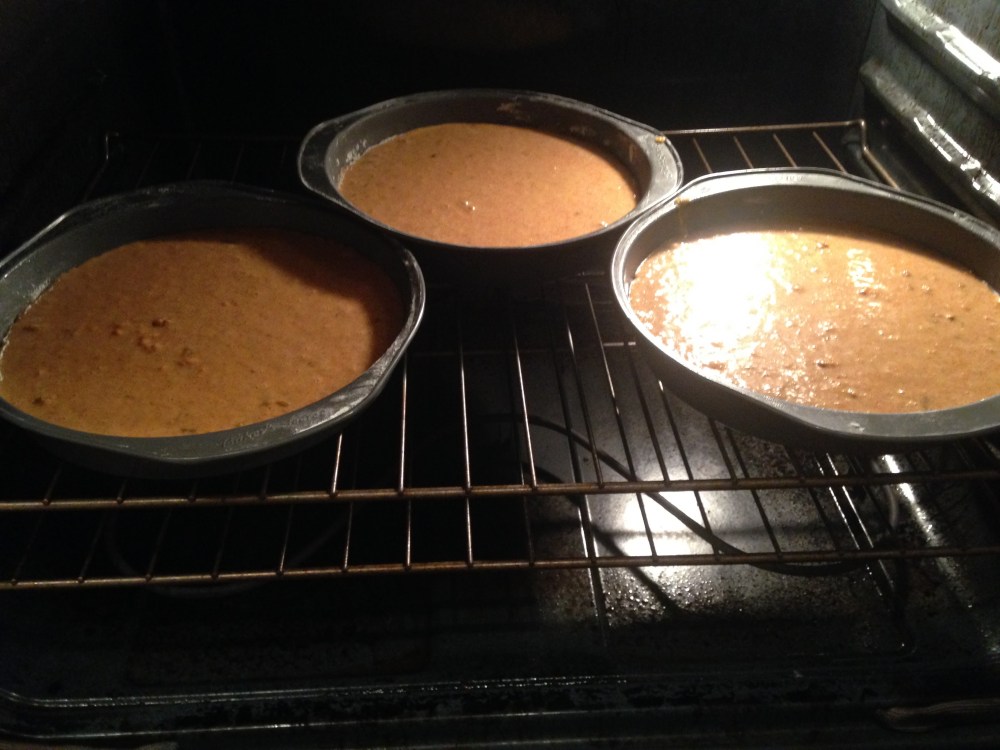
Bake at 350 degrees for about 20 mins. I will usually start to check the cakes 18 mins in. Insert a toothpick into the center of each cake and if it comes out clean, you are done. Definitely don’t want to dry these suckers out. Set on countertop and let cool for about 30 mins.

Once your 30 mins of cooling in the pan is complete, carefully remove the cakes. I like to invert the pans onto an individual plate. If you did a good job greasing up your pans (which I hope you did!), the cakes should plop right out.
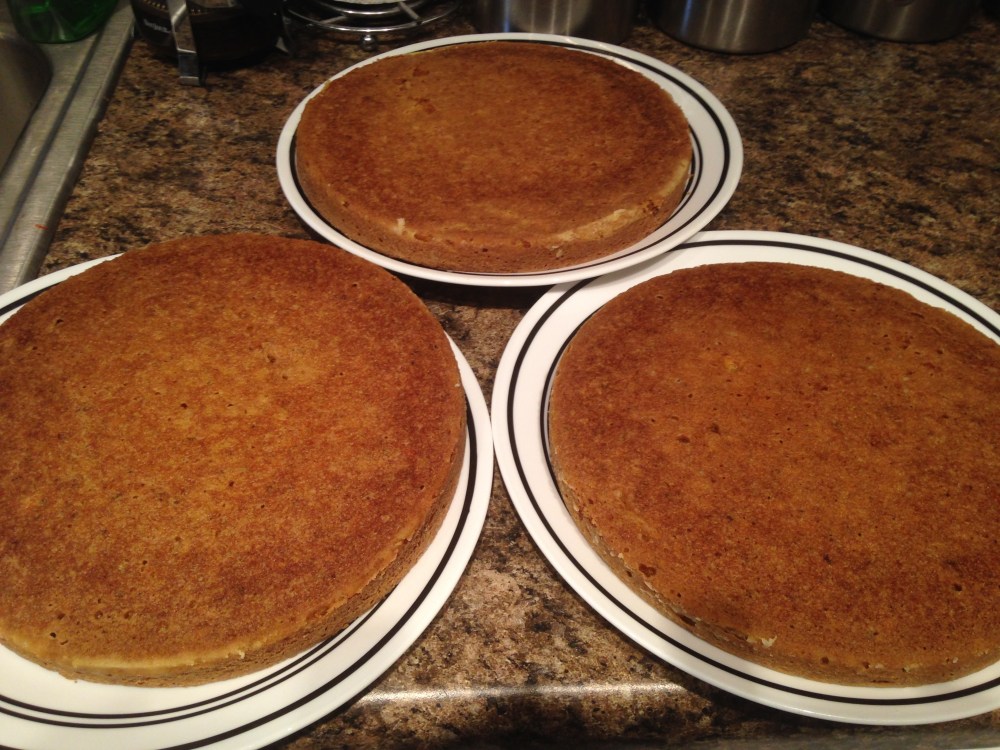
Let cakes cool completely. I would say a good two hours. Cream cheese icing is coming up and if you have warm cakes, the icing will melt and your layers will slide off of each other. More potential for F-bomb dropping (again speaking from experience). But now is a good time to put your cream cheese and butter in a large bowl to let them soften.
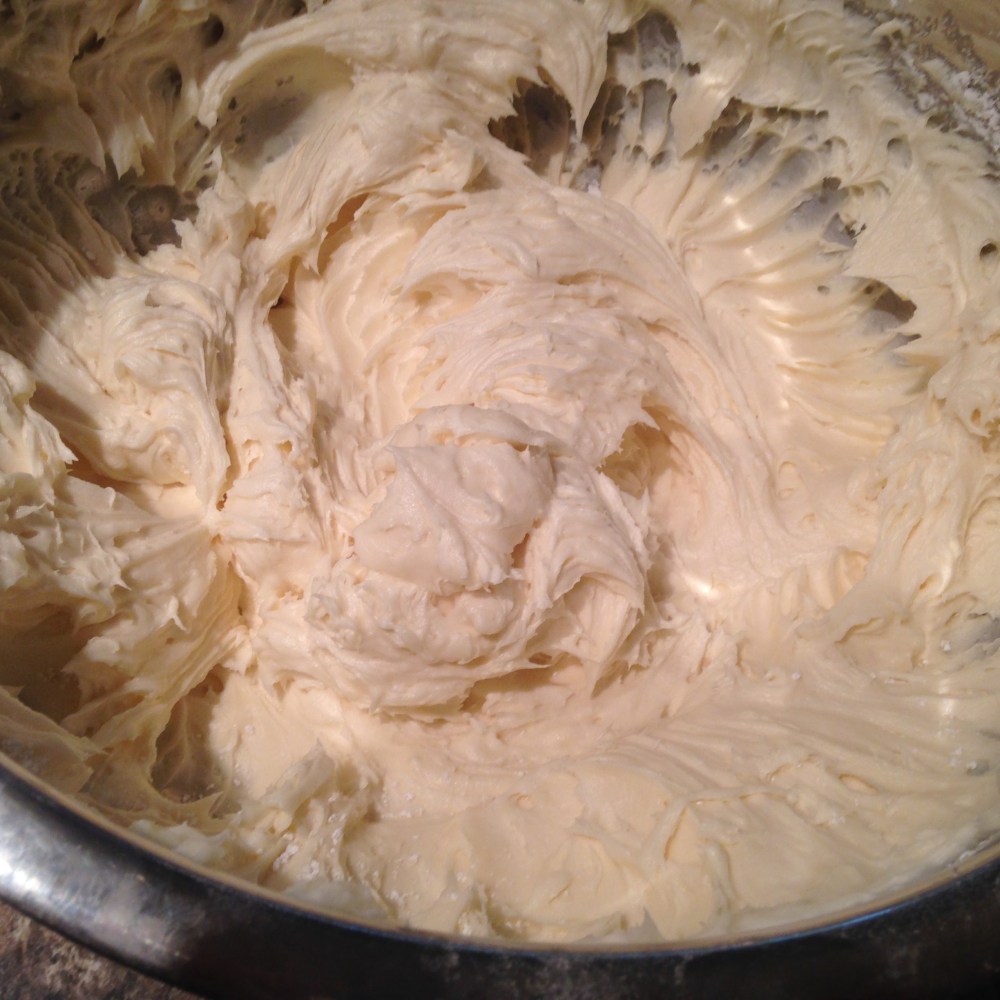
Ding, two hours up – icing time. Honestly people, I think this is the worst part of the whole carrot cake process. Not that the icing is hard to make, its just messy. And then I feel like its a race to the finish. Trying to get the icing on each layer, stacking them just right, and getting the finished product into the fridge before the icing gets too soft and layers start sliding … really makes me anxious!!!
But alright, enough complaining – lets get ‘er done! Slowly start to mix your butter and cream cheese together with a hand mixer (missing that Kitchenaid stand mixer right now!). Gradually add the vanilla and confectionary sugar. I guarantee you will be licking the beaters and bowl when you’re through!
Final step. Carefully place one layer on a cake holder/container. Spread about 1/3 of the cream cheese mixture on top, spreading to the very edge and then some. Again, don’t be shy. Repeat with the remaining layers. Once all the layers are stacked and iced, make sure to ice the perimeter of the cake.
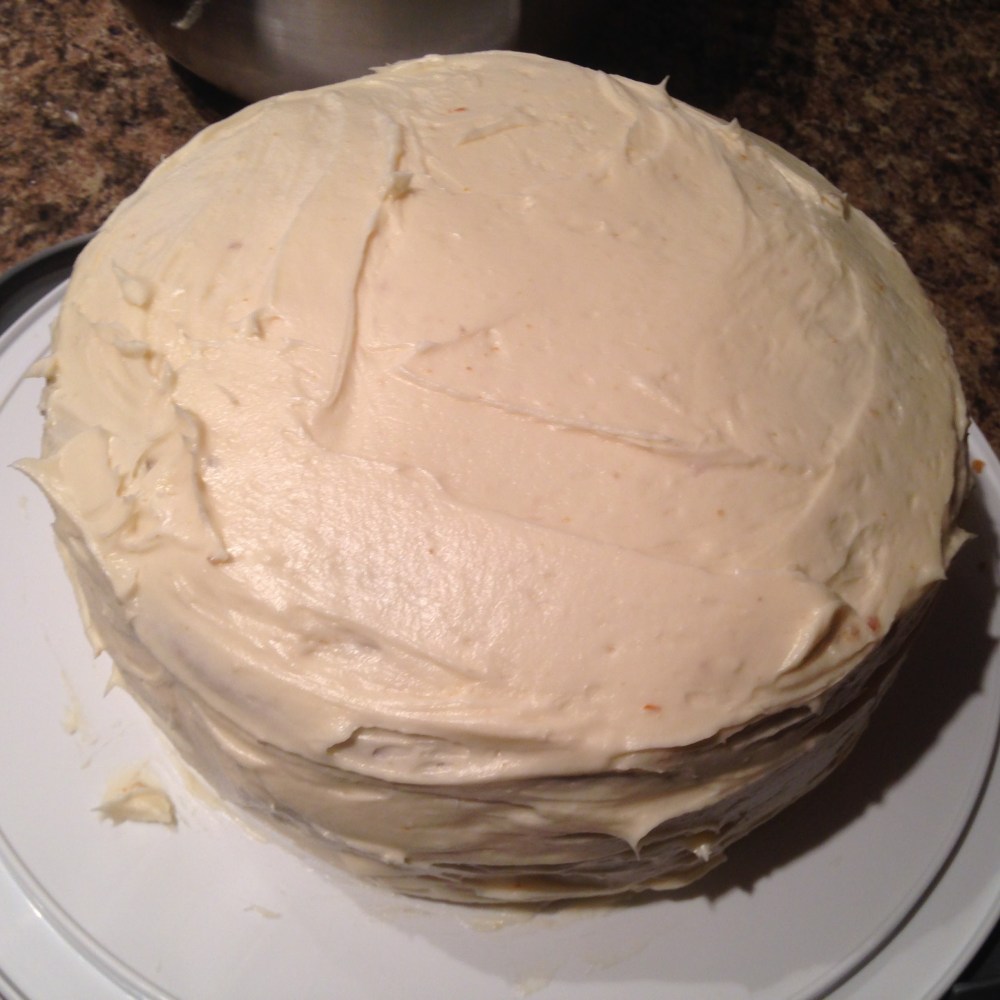
Voila! Doesn’t it look amazing?? Your friends and family will be grateful! Enjoy!

Great recipe name. When I first started making this I must have said F***K 50 times. I don’t think I say it that much after years of making it. But God forbid I don’t make it for the holidays. The first thing everyone says when they walk in the door is “Did you make Carrot Cake”
LikeLiked by 1 person